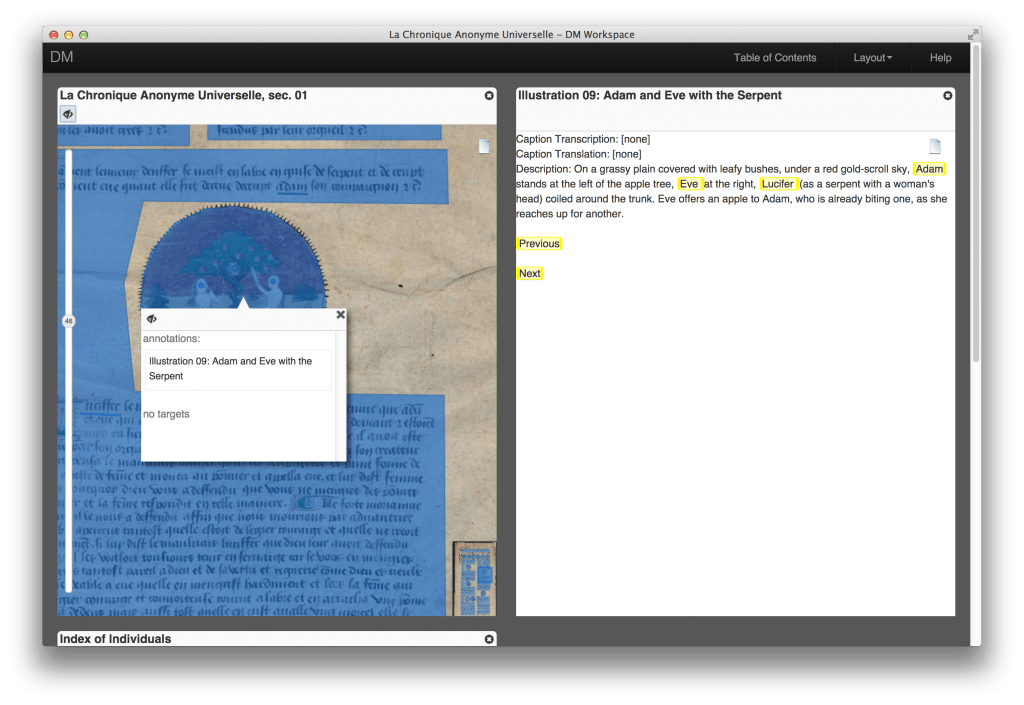
 (source: https://schoenberginstitute.org/category/collation)
Why do we deal with the development process?
The reason is not for us to go deeply in the medieval codex digitalisation process. 🙂 In the first unit we described digitalisation and the need to choose an approach for the digital content organisation. However once it is chosen, it is not by far enough to start the work. Why? Because:
- Our content in HTML format becomes a product to a bigger audience, usually to our learners. So we should take care of the required tasks in product design and development as much as we can of the;
- HTML format is rich and interactive, so we have to think of all those interactions that will surround our static manuscript content. In other words we have to „programme” our manuscripts.
There is therefore a massive planning phase to align the development and production of this converting process. This unit is about the details of „conversion” process.
Planning phase
Training needs analysis
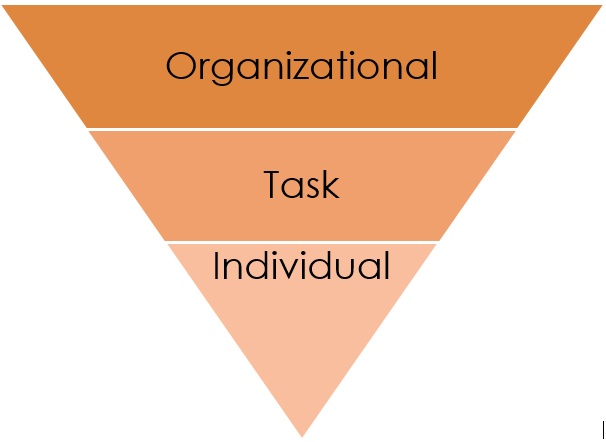
(source: http://blog.commlabindia.com/elearning-design/training-need-analysis-at-3-levels)
We have to realise that any conversion process is a „mini” project within this planning phase. Therefore we have to start asking questions about:
- Who will be our target audience?
- What kind of materials (subject matter) do we have technically and content wise?
- What kind of digital content organisation have we chosen and what are the consequences of it for the digital content delivery. (What is the role of our digital content in the course?)
Shortly we have to gather information to develop the learner profile, the content (subject matter) profile and the course profile.
Those questions are broadly discussed in the literature under the heading „Training needs analysis”. This work of analysis is commonly used in vocational and corporate training situations to complement the identification of skills gap, while in higher education the more typical type of analysis is the learner profiling.
- https://en.wikipedia.org/wiki/Training_needs_analysis
- http://blog.commlabindia.com/elearning-design/training-need-analysis-at-3-levels
- https://elearningindustry.com/integrated-elearning-experience-with-apis-creating
Structure of the training
With the resulting data from our previous step we have to specify the structure of the training or course, and what should be the structure of the HTML material within this structure. This decision was party made when we selected the content organisation method (see Unit 1) but in the light of the selected breaking down or storyboarding or digital interactive media we have to step back and re-examine the overall structure of the course:
- Form of the course: on-line, blended, mixed or other;
- Modular structure of the course;
- Structure and role of the learning material to be digitalised;
- Upon the selected organisation method, the list of the internal parts of the content (modules, episodes, templates for different parts)
More on organisation see: Unit1
Screen and functional design
As our digital content will be one part of a bigger on-line system that the learners will reach, we have to decide what screen designs will we use at different levels, as well decide on the functional design of menus, and any other specific functions within the course.
Here we have to specify the graphical elements of our content. We can choose either from readily offered Themes of learning management systems, or we can custom design our own main screens, module, or unit level screens, headings, pedagogical and communicational tools graphical layout.
Upon finishing this part we have to highlight, that the latest developments on responsive themes, the design process is on one hand more simple, but on the other hand, it needs more caution. Responsive themes are built to show the same content in different size of screens and pointing devices, from smart phones, through tablets, till laptops and office workstations. Those themes use different screen designs to different type of device (including menu structure, pictures, etc.). However this convenience also means that the designer and author of the content may have reduced toolset to customize those themes.
- Traditional e-learning: http://theelearningcoach.com/media/graphics/considerations-for-screen-design/
- http://blog.commlabindia.com/elearning-design/elements-for-elearning-screen-design-infographic
- E-learning templates: https://elearningart.com/product-category/elearning/elearning-templates/
- Font design: https://www1.udel.edu/edtech/multimedia/screen-design.html
- Mobile screen design: https://uxplanet.org/mobile-ui-design-basic-types-of-screens-aa1857e31339
- Responsive screen design: https://developers.google.com/web/fundamentals/design-and-ui/responsive/
- https://99designs.com/blog/tips/responsive-web-design-key-tips-and-approaches/
Development workflow
We also have to design how will we do the development: which phases will it include, what deadlines can be asigned. Based on the selected content organisation method, media selection and course model, and the variety of languages, we may draw up a complex video production plan, but we can also choose to create a simple publishing workflow.
As an example let us bring here a workflow that was planned in EduTeach project.
- Manuscript writing with template (Author)
- Technical check of the manuscript (Technical editor)
- Technical corrections: missing graphics, links, length adjustments, clarification between authors and editor (Author, Editor)
- Manuscript editing (Editor)
- Manuscript Proofreading (Proof-reader)
- Final manuscript (Editor)
- Final manuscript HTML editing and uploading to LMS (Technical editor)
- HTML module check in LMS (Author)
- Final draft (not piloted) module in LMS (Technical editor)
After collecting all the above mentioned sections we finally be able to finalise the product (course) Specification.
The typical parts of a specification are:
- Course title
- Course objectives
- Learning time
- Results of training needs analysis
- Structure (contend organisation)
- Screen and functional design (selected media)
- Workflow of development
Development phase
The development phase is an intermediate phase between planning and the production. In case of for example a traditional digital textbook this development is short, while in the case of a media rich or very interactive e-learning material it is a longer process.
In the development phase all planned parts have to be designed in more detail:
- Graphics, infographics: design and description for the graphic artist
- Video parts: Detailed storyboard and script writing for the production
- Interactive e-learning: Templates for modules, lessons, templates of specific pedagogical activities, template for case studies, etc.
With all these preparations, we help the production team either to write or author a series of similar parts in the same style and format, or if we adapt already written content, we support them to prompt the necessary changes.
For a typical text based interactive HTML content template here is an exemplary list (adapted from EduTeach project of styles that is prepared to handle all needs that content, graphics and pedagogical tools require.
Production phase
The production phase is the real writing, formatting, re-formatting, pedagogical enriching phase. Graphics are drawn, videos are selected, adapted or sub-titled, tests are programmed, and the main content is authored or edited (re-developed) to the required format.
In this unit we only go in details of the production of HTML text, that can be produced directly in an HTML editor or can be created from an already authored traditional text, that is formatted for printing (most commonly in word format).
a.) Authoring and formatting directly in the HTML Editor
This method is the quickest one for smaller content. We open a HTML editor in our Learning management system by adding the appropriate type of <resource>. This method is good for general content that is less than one traditional page (say 1000 characters), that is called microcontent. Using this method we have to carefully followe the format and structure that was developed earlier. Before each heading and paragraph we have to set heading type, or font formatting settings. We advise to print out the prepared template to follow the content structure and the formatting rules. Contra: This manual formatting is very vulnerable (we may miss the appropriate format time to time), and it also becomes very slow in case of longer content. This method is also lacking of reliable versioning and independent archiving of the content, and that may become a quality issue.
More on microcontent: https://en.wikipedia.org/wiki/Microcontent
b.) Formatting existing manuscripts edited for printing
It is a very typical development task when we already have a core text to start with, that was authored earlier. Those „traditional” print formats are very rich of:
- long hierarchy of heading systems
- different emphasizing techniques
- multi-level listing
- special positioning of different graphics in the text.
- header and footer system with section breaks.
- system of footnotes
- cover, copyright and Table of contents page
- forced page breaks and paragraph alignment to fulfil page layout requirements.
Most of these formatting have to be adapted, or eliminated.
c.) Formatting directly in the HTML editor
The first simple method of formatting those texts is to directly format them in the HTML editor of our Learning management system.
- We have to print out the designed template and check if all original styles can be set in the re-developed HTML template – most of the times it is not the case.
- We have to plan a “conversion” of the non existing formats.
Let us take the headings as an example. In many manuscripts there is at least four or five level heading system, while in HTML format (and most importantly in responsive HTML format) we advise you not to have more than three levels of headings.
Regarding the numbering only traditional digital textbooks need numbering, otherwise it might be a bit rigid. Most important requirement In numbering the most important requirement is to stay coherent:
1. Module ; 1.1 Unit; 1.1.1 Unit sub-title etc.
Or: Module 1, Unit 1, Sub-title 1
- We have to select between two options depending on the length and complexity of manuscript:
- In case of a smaller text we copy and paste the pure, unformatted headings and paragraphs separately while making sure that the copied piece is not holding any formatting. We follow the procedures of direct authoring (case a).
- In case of a longer text, we convert a plain text version of the manuscript and paste it in the editor box. We follow then the text paragraph by paragraph and we adjust the formatting upon our already print template and style conversion table.
d.) Formatting with an already designed template in a word processor
This method is almost the best in case of longer, complex textbooks if we do not have independent industry standard HTML Editor
- We have to copy the already designed specific document template (.dot) file to the place where other .dot files are stored.
- We have to open a new text file based on this template (New file… choose this template) or just simply open the .document template file and immediately rename it to the appropriate name.
- We have to try to adjust your text editor so that we can see the designed styles either on the menu bar or as a side bar.
- In case of authoring from scratch, first we select the desired style from the style bar, or menu bar, for example “Module title”, then we start typing the title itself. (If it is done later, we have to highlight all the text and adjust the style later, which can be more time consuming.)
Note: Some styles are set for one paragraph, and after the enter you find yourself at another style, while other styles are staying switched on. For example body-text style stays body-text all the time, while Lesson title becomes body-text after typing the lesson title (we guess that this is the most frequent sequence). Some other styles (Head types) are followed by the same type body: When we set Activity head, and type the Title of our activity, after pushing the <enter> the style becomes Activity body and we can start typing the content of the activity. After having finished the activity, we have to set Body style for the next part of the module. - If we are adapting an already written text-part, we suggest you to insert the text as “plain text” without any former formatting. We can do a simple Copy + Paste and before doing anything there is a dropdown menu at the end of the inserted text and we can choose unformatted text. (With bigger cohort of text we insert the whole body in word and then we “save as” pure .txt file. That is a sure way to kill all formatting, tables, lists, automatic numbering…)
- The formatted document have to be exported to the LMS HTML environment either by direct document -> HTML conversion (Save as) or with the help of a professional HTLM Editor (See next part).
e.) Formatting with the use of a professional HTML Editor
This last method is the best method if we have
- independent professional editor,
- staff for professional web editing,
- large and complex content to be edited in HTML format, or if
- our HTML content is produced for business or business-like use for large audience.
As this method requires the involvement of a professional web-editor person, we do not discuss this method here as our editor will guide us how to collaborate with them to reach the required HTML content, that will be uploaded directly to our Learning management system.
f.) Formatting using different style than the LMS
If your learning material has a section that you would like to emphasize visually (like objectives, learning time, interactions, graphics, etc.) then you can define HTML Cascading Style Sheets both ways: inline or embedded (or external). We suggest to use the embedded form, because it is easier to modify and manage changes in one place. It is also possible to reference this css in the LMS and than to use in all of your learning materials.
g.) Formatting in responsive environment
As it was mentioned in the Planning part, in case of responsive themes even more reduced formatting is required. Therefore the above mentioned template driven methods should converge to an even more simplified content style, meaning less headings, less text formatting, smaller paragraphs, and smaller video and image embedment.
Final (Draft) production
Before testing our HTML content there must be some technical editing and quality assurance steps:
- Technical editing: When the HTML content is ready the HTML editor still have to insert or embed the media content, or any readily made learning tools like quizzes (see in next unit), cross referencing it with the content.
- The resulting HTML and media edited draft have to be checked technically by the HTML editor to assure that the embedded videos, graphics, links and references, programmed activities, etc. function.
- The HTML and media edited draft have to be checked by the editor, whether the HTML editing process led to the designed end-product to see if all modules, chapters and units are there, there are no typos, all author requests were executed andall quizzes are working properly.
- This double tested version has to be checked and approved by the author.
- The resulting final draft hase to be published for testing and archived before further modification.
Testing, modification, publishing
In our micro-project the final steps towards the end-product is the testing – that is also referred to as piloting – by a relevant number of learners who represent our target group.
The results of the testing have to be collected, evaluated and the authoring team (author, editor, HTML editor) have to make decisions of necessary modifications. This part of the development work may require dedicated time and resources.
The author – and in business environment, the publisher as well – has to explicitly approve the final product that is to be published. The published version has to be archived.
![]() Converting manuscripts to HTML format by Denes Zarka is licensed under a Creative Commons Attribution-NonCommercial-ShareAlike 4.0 International License.
Converting manuscripts to HTML format by Denes Zarka is licensed under a Creative Commons Attribution-NonCommercial-ShareAlike 4.0 International License.
 This project has been funded by Erasmus + programme of the European Union. This web site reflects the views only of the authors, and the Commission cannot be held responsible for any use which may be made of the information contained therein.